Create your first alert rule
By the end of this guide a rule watches a zone for you, and emails you when your tag enters it.
Prerequisites
- A tag visible on the Blecon Track map (complete Add your first tag first)
- An email address to send alerts to
Step 1: Create a zone
- Open Blecon Track and go to Zones.
- Click + Add Zone, choose Search for an address, and click Next.
- Search for the place. The zone is drawn around it; adjust the shape on the map if you want to.
- Name the zone, such as "Loading Bay", and click Create Zone.
Step 2: Add an email channel
- Go to Integrations and open the Event delivery tab.
- Click + Add Email, name the channel, and enter the addresses that should receive alerts (up to 10).
- Save it, then use Test to send yourself a sample alert and confirm it arrives.
Email is the quickest way to start. Once you want alerts inside another system (Slack, PagerDuty, your own dashboards), add a webhook channel instead or as well.
Step 3: Add the rule
-
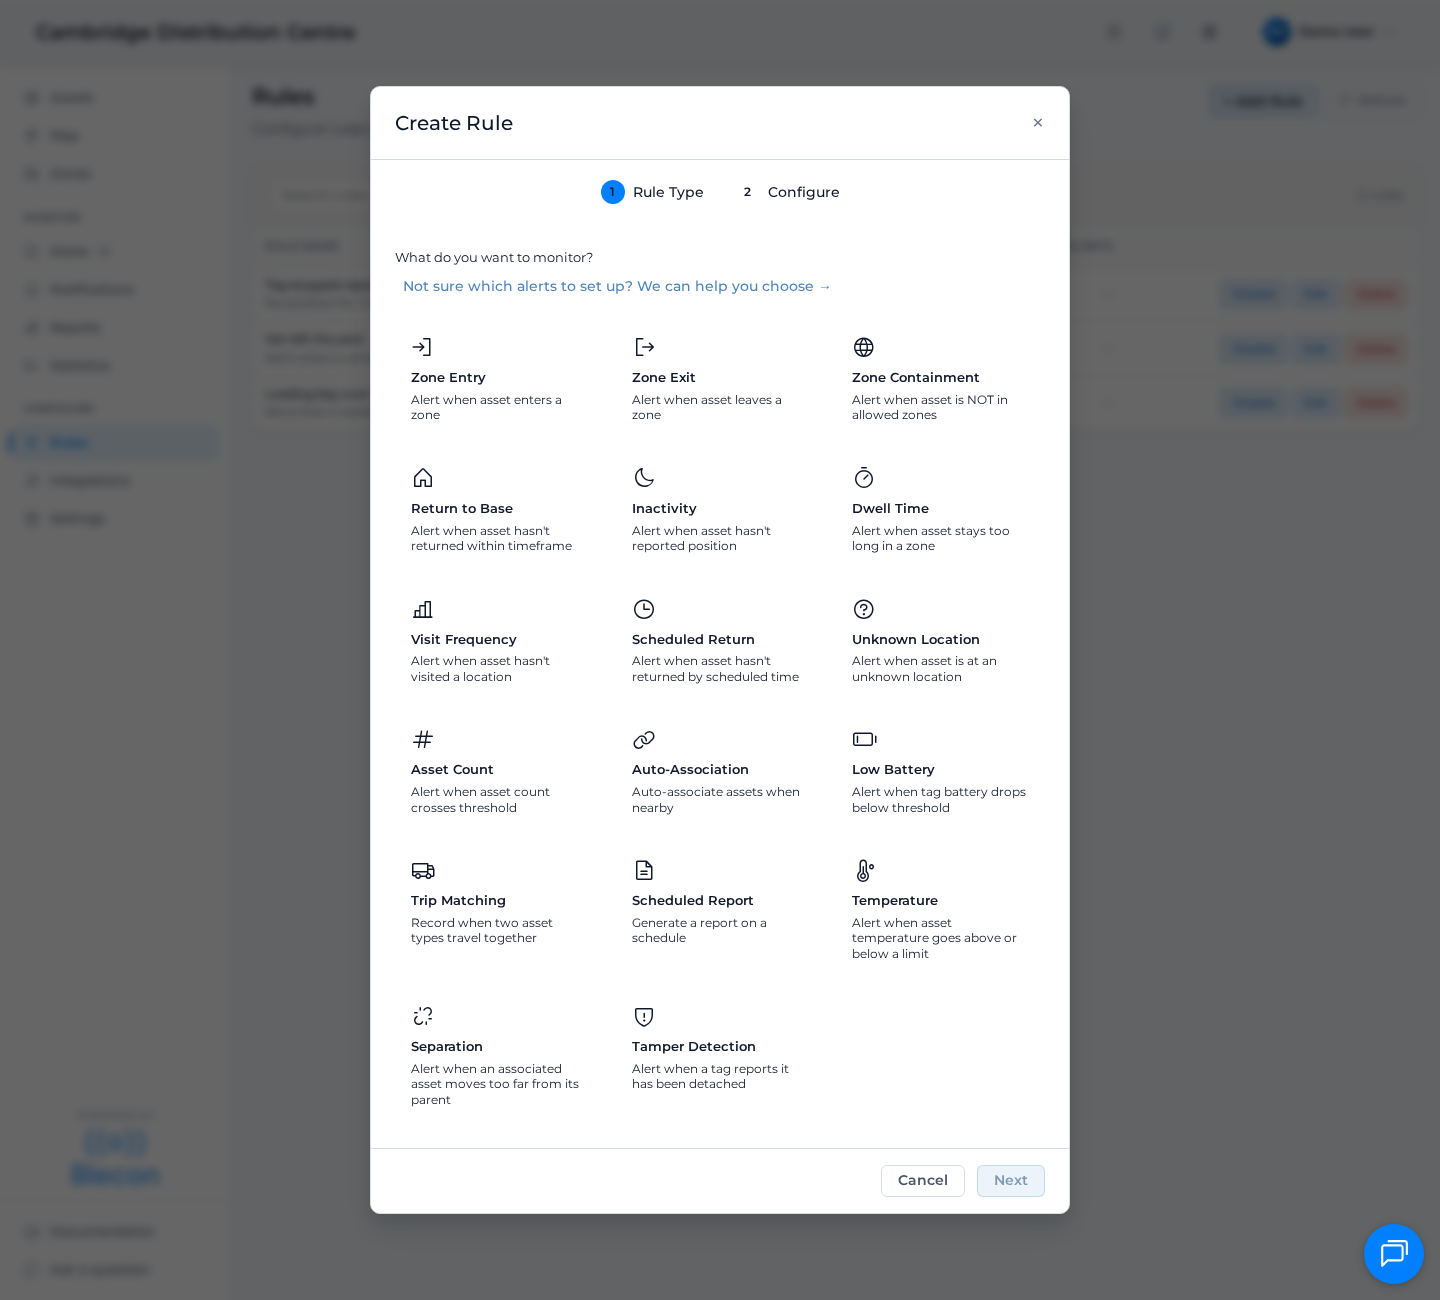
Go to Rules and click + Add Rule.
-
Select Zone Entry as the rule type.
- Choose the zone you created.
- Set the severity to Medium, so this raises an alert that stays open until someone deals with it, rather than a fire-and-forget notification.
- Under Notifications, select your email channel.
- Click Add Rule.
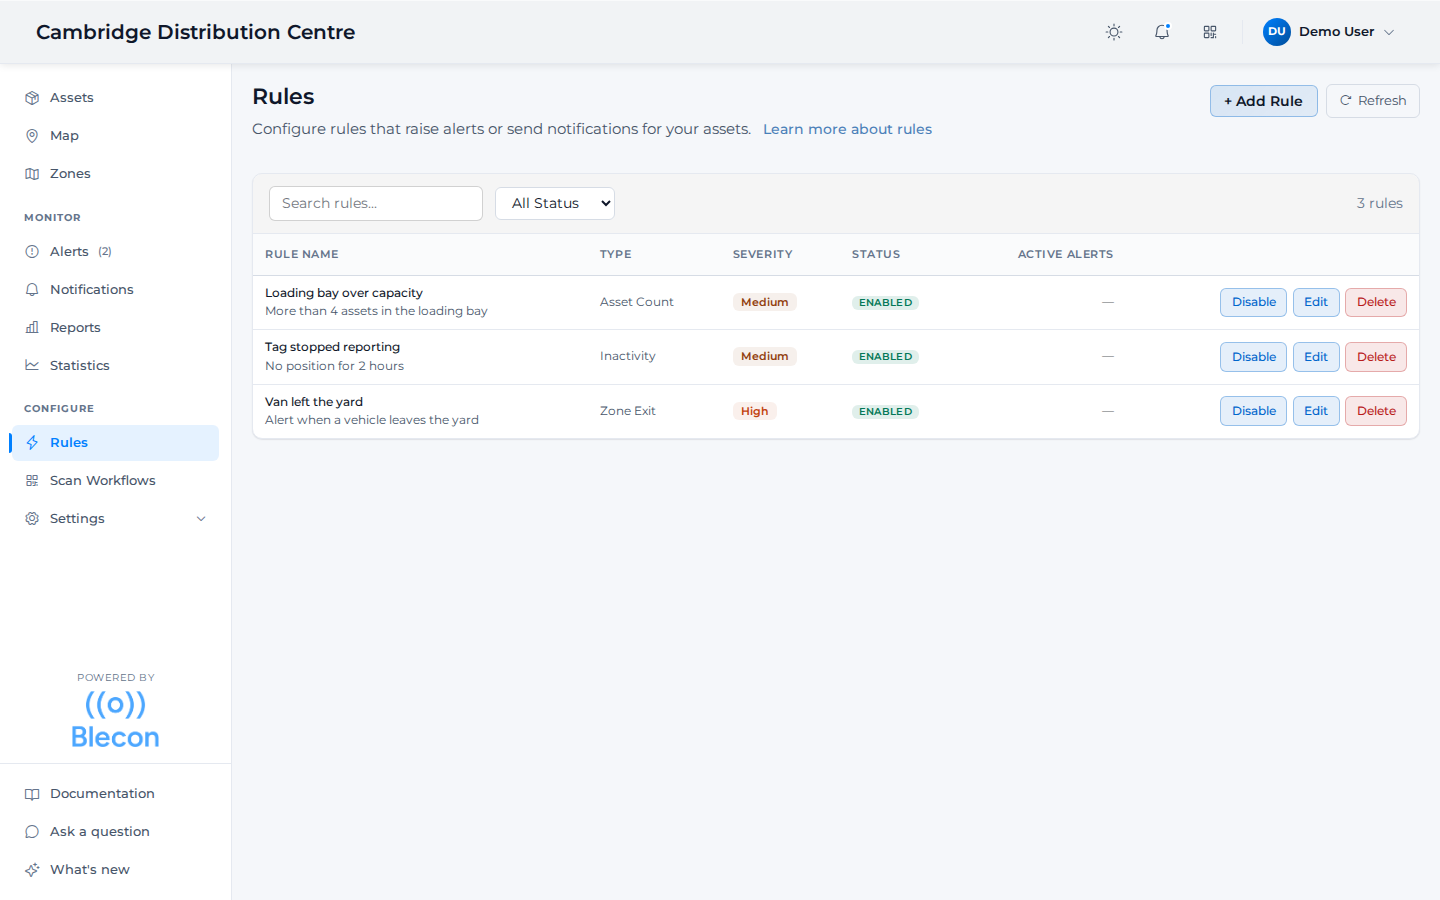
Your new rule joins the rules list, where you can see its type, severity, and how many alerts it currently has open:
Step 4: Trigger it
- Move your tag into the zone.
- The entry is detected at the tag's next report, within a few minutes.
- The alert lands in your inbox, and appears on the Alerts page ready to acknowledge and resolve.
What you have now
A working alert pipeline. Explore the other alert rule types to watch for return-to-base, dwell time, inactivity, and more.