Add your first tag
By the end of this guide a tag is attached to a real asset, registered to your workspace, and showing its position and movement trail on the map.
Prerequisites
- A hotspot online and reporting (complete Set up your first tracking network first)
- A tag, and something to attach it to
Step 1: Register it
Register the tag first, then activate it. After you register, the dashboard waits for the tag and tells you when a hotspot hears it, so you see at once that the tag works.
- In Blecon Track, go to Assets and click Add Asset.
- On a desktop, a QR code appears. Scan it with your mobile device's camera to open the tag scanner there.
- Scan the QR code on the tag.
- Give it a name you'll recognise on the map, such as "Forklift 3", and click Add Asset.
Step 2: Activate and attach it
- Activate the tag. Peel the backing off a smart label. For other tags, follow the activation step on the tag's hardware page.
- Attach the tag where it will stay. Stick an adhesive label on a flat, clean surface. Fix a reusable tag with the mount or tie it came with.
- Keep the tag's QR code or barcode readable. You need it again if the tag is ever replaced.
The dashboard shows Tag Connected when a hotspot first hears the tag.
Registering more than a handful? Bulk import takes a spreadsheet of tag IDs, and workflows let suppliers or site staff register tags without a Blecon account.
Step 3: See it on the map
- Go to the map.
- Find your tag in the Assets list, or its marker on the map.
The first position appears once a hotspot next hears the tag. Tags report periodically to preserve battery, so this takes a few minutes rather than seconds.
- Click the tag to see its current position, when its last position was recorded, and which zone it is in.
Step 4: Watch it move
- Carry the asset to a different place that is still within hotspot range.
- The marker moves at the tag's next report, and a trail line connects where it was to where it is.
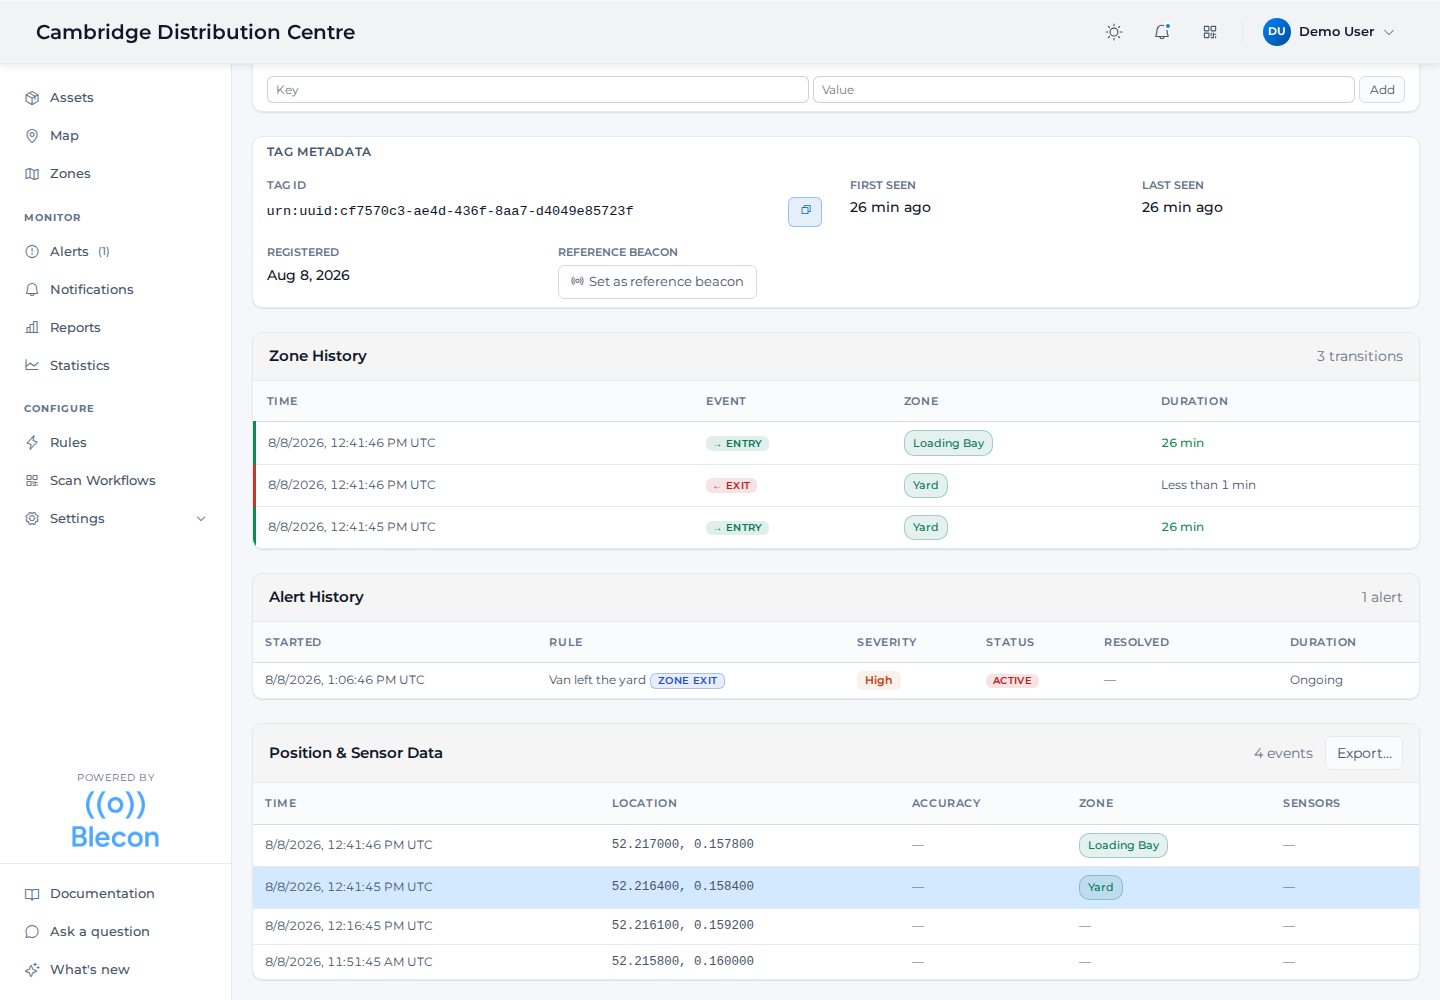
- Open the tag and scroll to Position & Sensor Data for the full history with timestamps.
What you have now
One asset tracked live. Repeat steps 1 and 2 for the rest, then set up something to watch them for you.